The Arcade Rough Works · Dungeon

BERNER·CRAWL

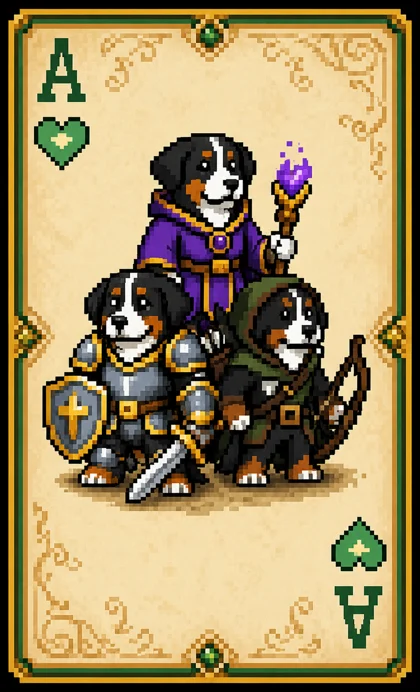
A turn-based party of three. Five floors. One dungeon.

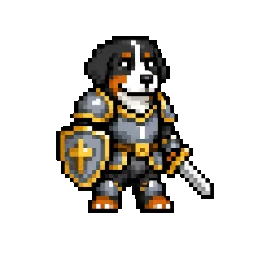
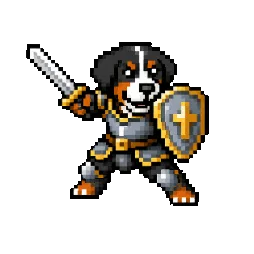
Pixel-art Bernese mountain dog, the knight

Teddy

Knight

Front-line tank. Heavy strikes, shielding allies.

HP110
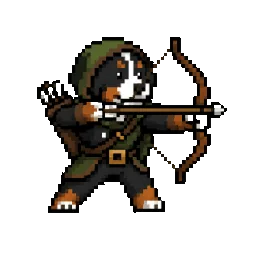
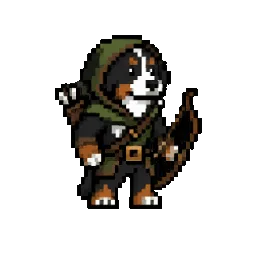
Pixel-art Bernese mountain dog, the archer

Moose

Archer

Quick critical-hitter. Marks enemies for the team.

HP80
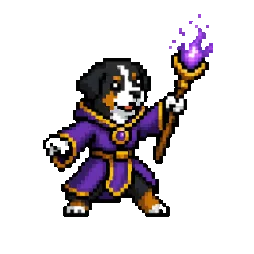
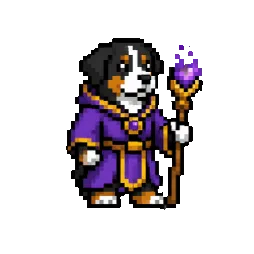
Pixel-art Bernese mountain dog, the mage

Gabby

Mage

Elemental damage and party support.

HP70
Choose your run
Begin descent Beat it, send us your score, and we will knock 20% off your next engagement.
The party

Three good dogs.

Teddy, Moose and Gabby, with the stats and the four skills each one walks in with. Numbers are the game’s own.

Teddy

Knight
110HP
14Attack
9Defense
5Speed
6%Crit
  • SlashA reliable blade strike. Cheap and effective.
    4 stam
  • BashHeavy blow with a 35% chance to stun.
    12 stam
  • BulwarkSelf defensive stance. -50% damage taken next 2 turns.
    8 stam
  • EarthbreakerSlam the ground. Hits all enemies. Unlocks after boss 3.
    22 stam

Moose

Archer
80HP
12Attack
5Defense
9Speed
18%Crit
  • Quick ShotFast arrow. Good crit rate.
    4 stam
  • Aimed ShotHeavy single-target shot with elevated crit.
    12 stam
  • MarkTag a target for +25% incoming damage. 3 turns.
    8 stam
  • VolleyRain of arrows. Hits all enemies. Unlocks after boss 3.
    22 stam

Gabby

Mage
70HP
16Magic
4Defense
7Speed
10%Crit
  • BoltLightning bolt. Reliable magic damage.
    4 MP
  • InfernoFire engulfs all enemies. Burn 2 turns.
    14 MP
  • MendRestorative magic. Heals one ally.
    8 MP
  • WardAll allies take -50% magic damage for 2 turns. Unlocks after boss 3.
    12 MP
Take a turn

Hit the Wraith.

A sparring round, right here. The dogs take turns, the skills and their strength are the real ones, and this Wraith does not hit back. The one downstairs does.

The Wraith
TeddyMooseGabby
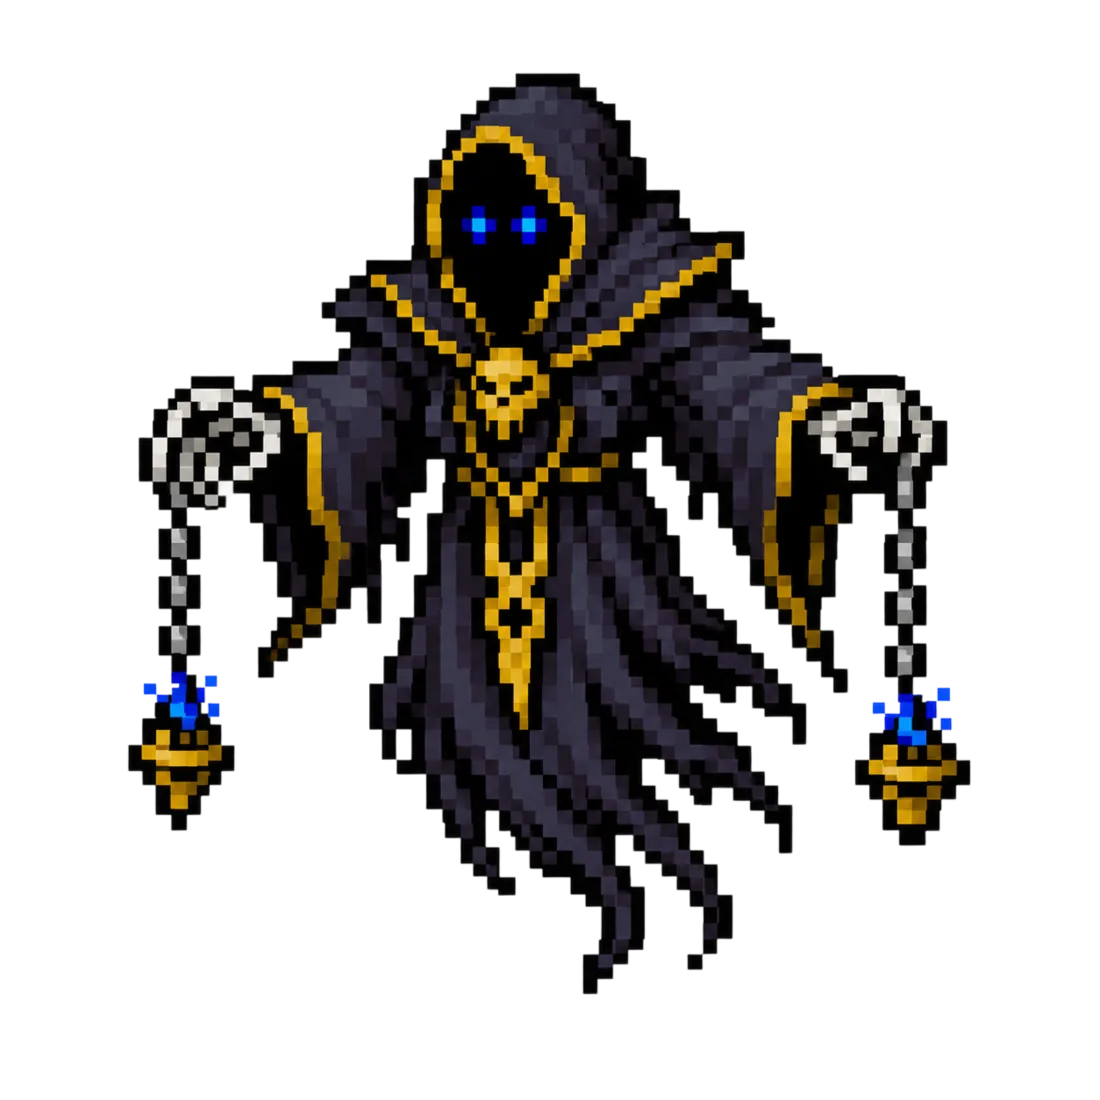
The Wraith, a hooded pixel-art spectre

Teddy is up. Pick a skill.

Sparring only: no crits, no stamina, no counter-attack. The real fight has all three.

Gear

Poison, stun or burn.

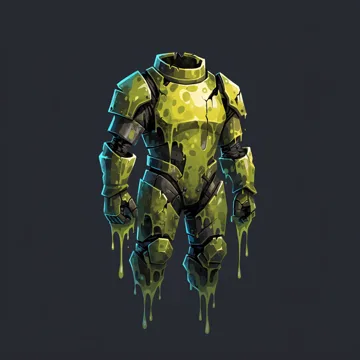
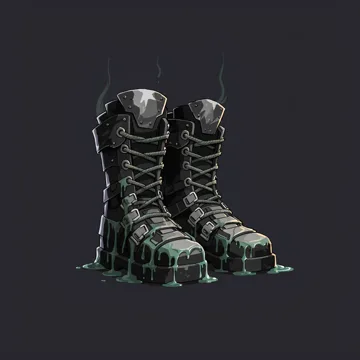
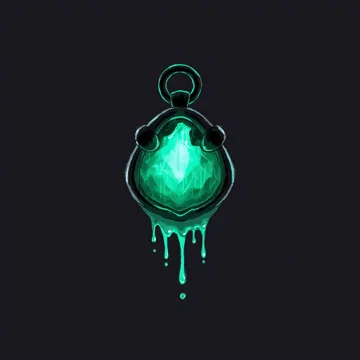
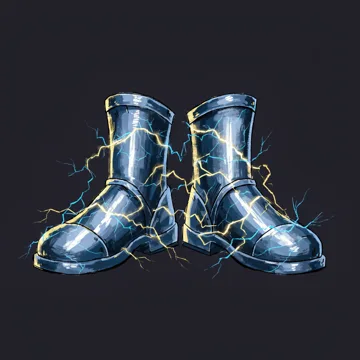
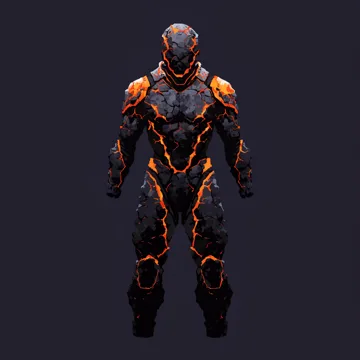
Gear comes in three builds, and what the dogs wear shows on them in battle. Mix a poison coat with burning boots and you will see both.

Poison helmet
helmet
Poison armor
armor
Poison boots
boots
Poison amulet
amulet
Stun helmet
helmet
Stun armor
armor
Stun boots
boots
Stun amulet
amulet
Burn helmet
helmet
Burn armor
armor
Burn boots
boots
Burn amulet
amulet
The map

Every floor is a path you pick.

Five kinds of room stand between you and the stairs. You choose the order, and what you skip.

Skirmish
Trader

Wager
Vignette

Boss
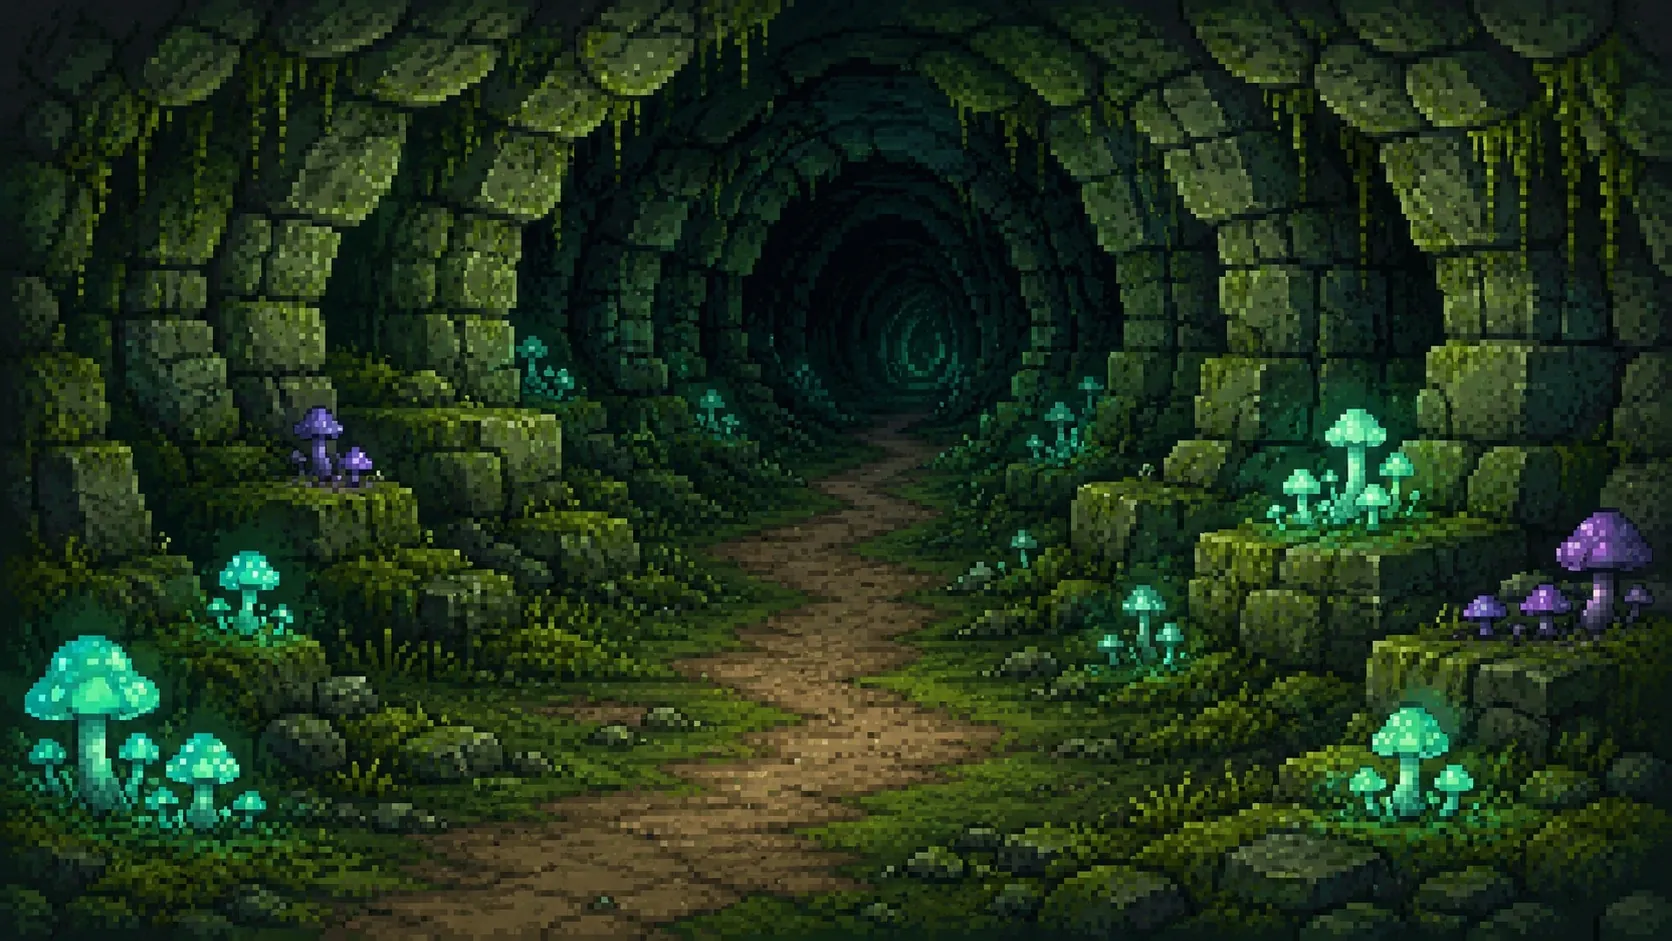
A mossy stone tunnel lit by glowing blue-green mushrooms
Floor1

The way in.

Moss, wet stone and mushrooms that glow.

Floor 1 boss

Goblin Scout

Lookout of the Lower Halls

Twitchy. Fast. Spits something foul.

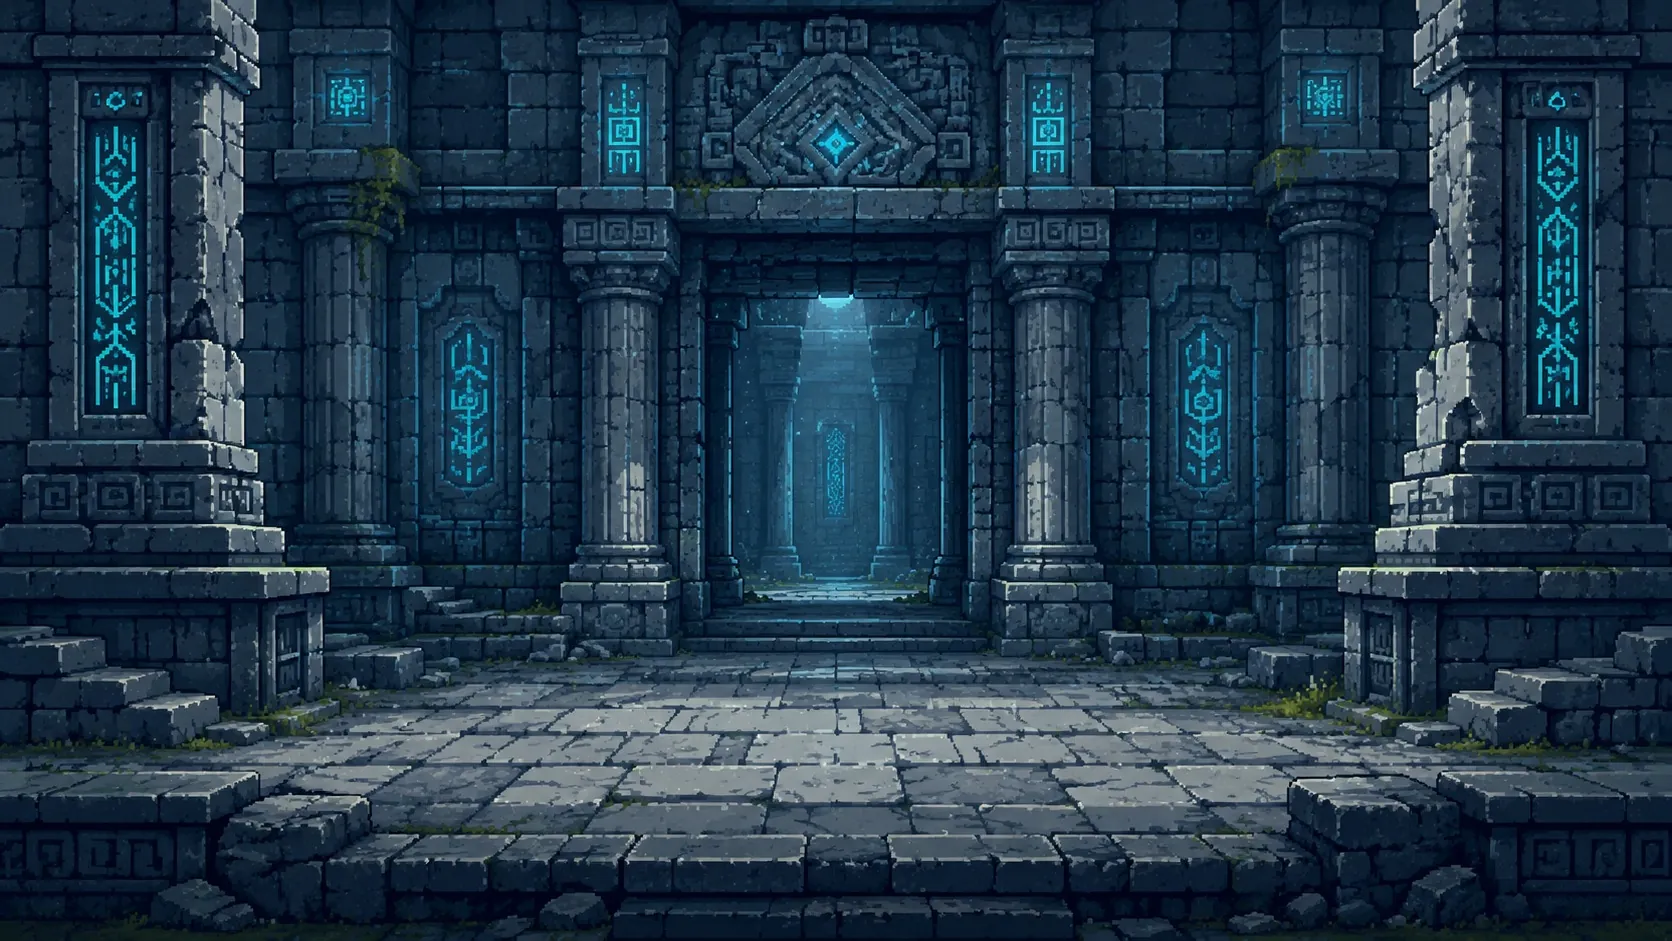
A carved blue stone temple gate flanked by glowing runes
Floor2

The sealed door.

Cold blue stone, and runes that are still lit.

Floor 2 boss

Stone Sentinel

Guardian of the Sealed Door

Slow. Stone-skinned. Magic carves through stone.

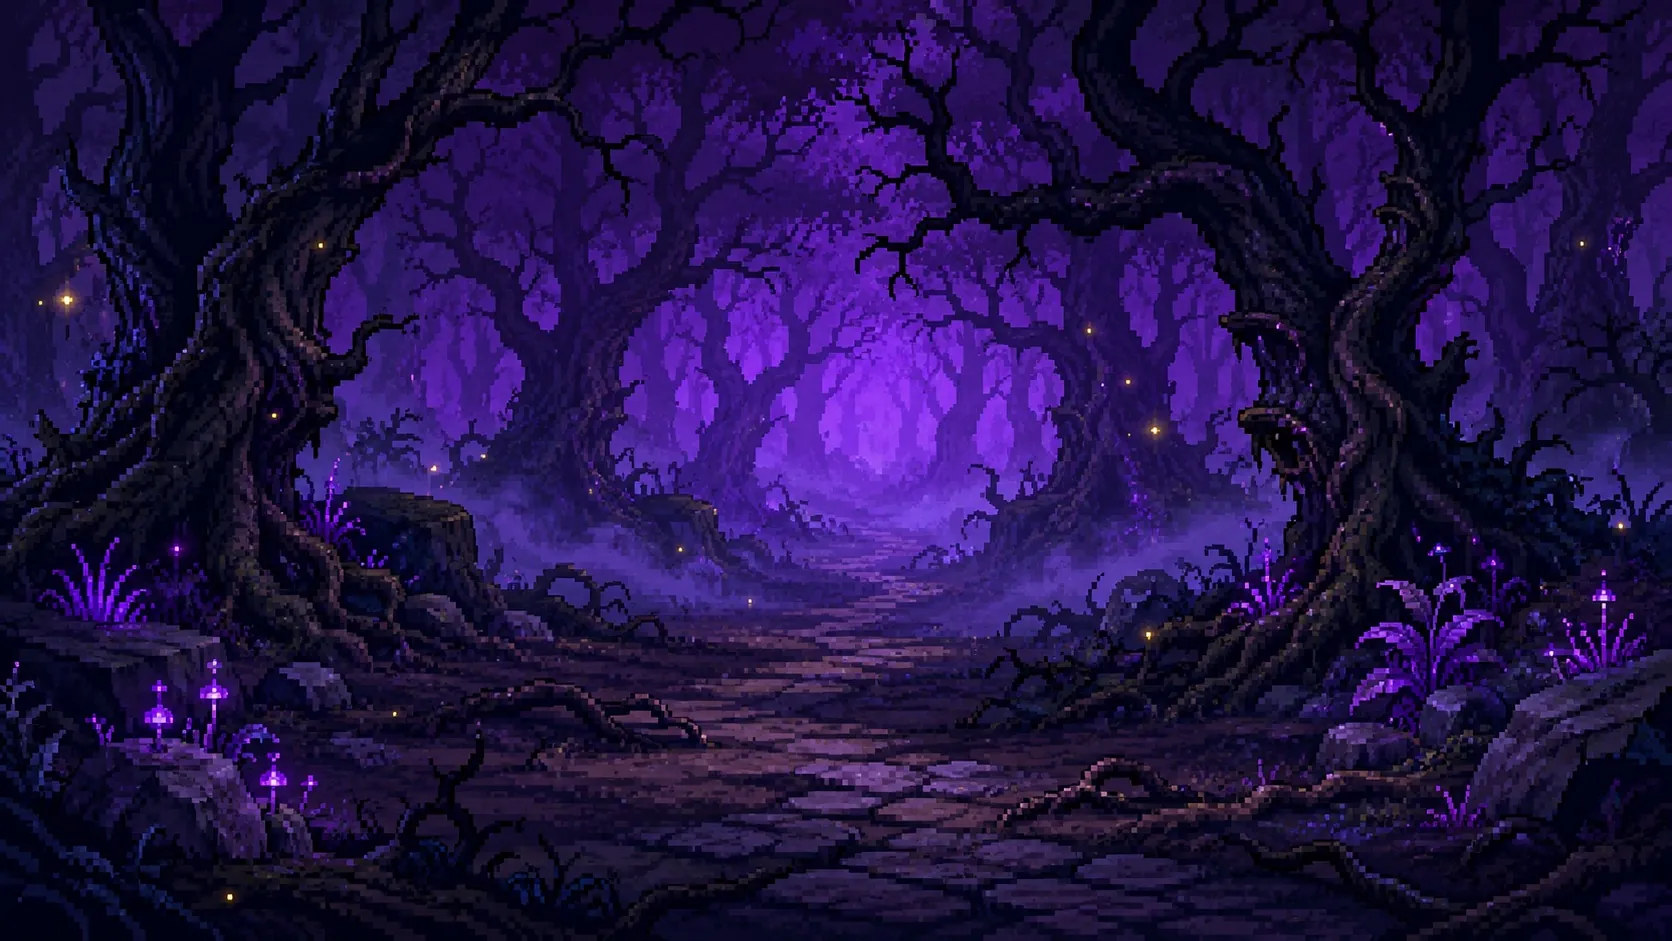
A twisted forest glowing violet around a cracked stone path
Floor3

The hunting ground.

Past boss three, each dog learns the skill that hits the whole room.

Floor 3 boss

Shadow Pack

Three Hunting as One

Three of them. They focus the wounded.

Vignettes

Strange things on the way down.

Not every room is a fight. Some are a painting, a choice and a consequence.

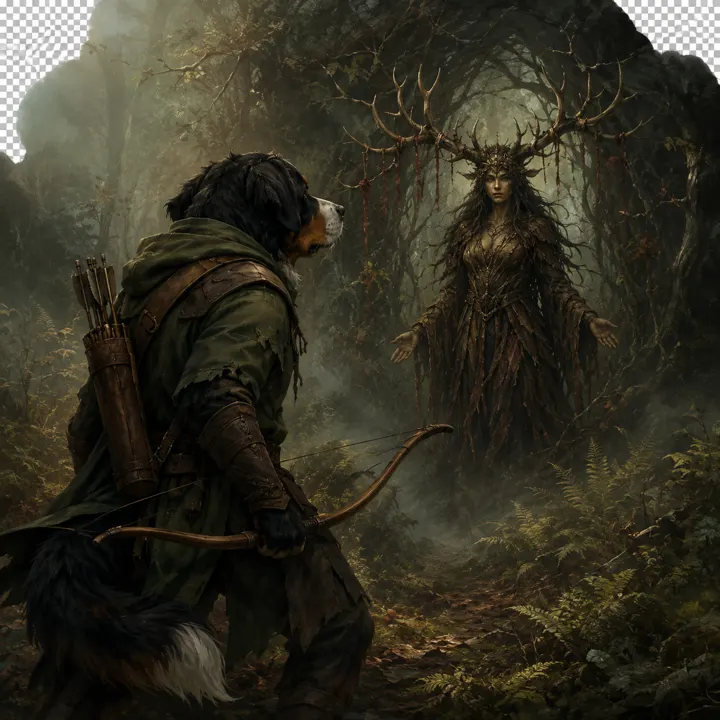
The Antlered Stranger, a painted scene from the game
The Antlered Stranger
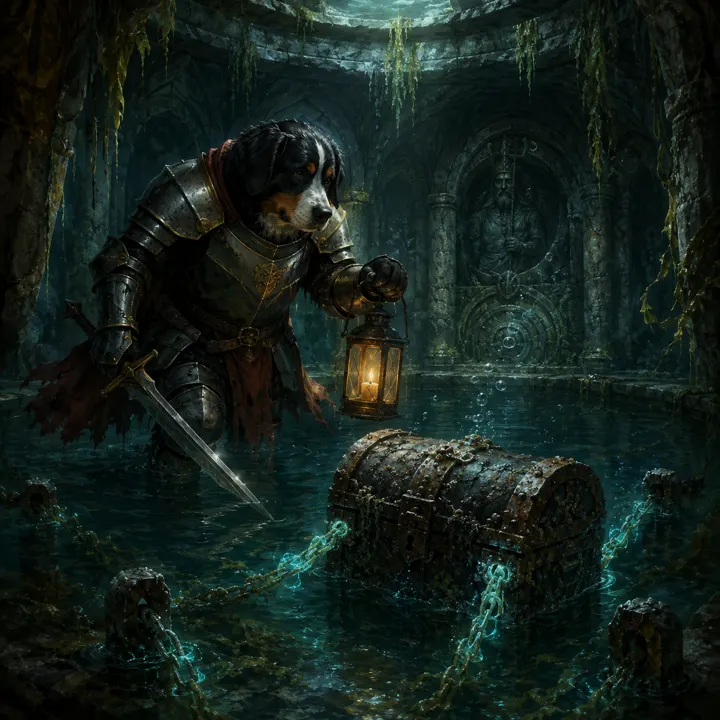
The Tide-Bound Chest, a painted scene from the game
The Tide-Bound Chest
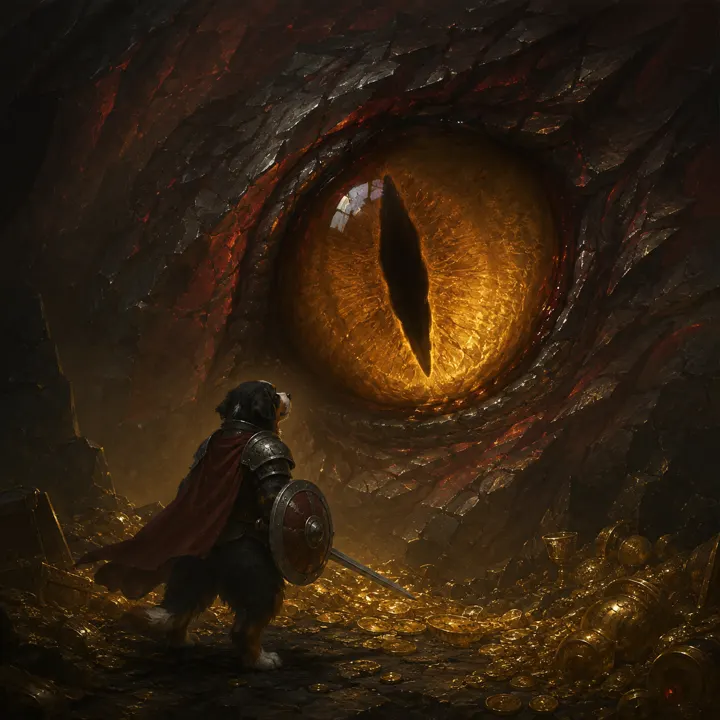
The Dragon’s Eye, a painted scene from the game
The Dragon’s Eye
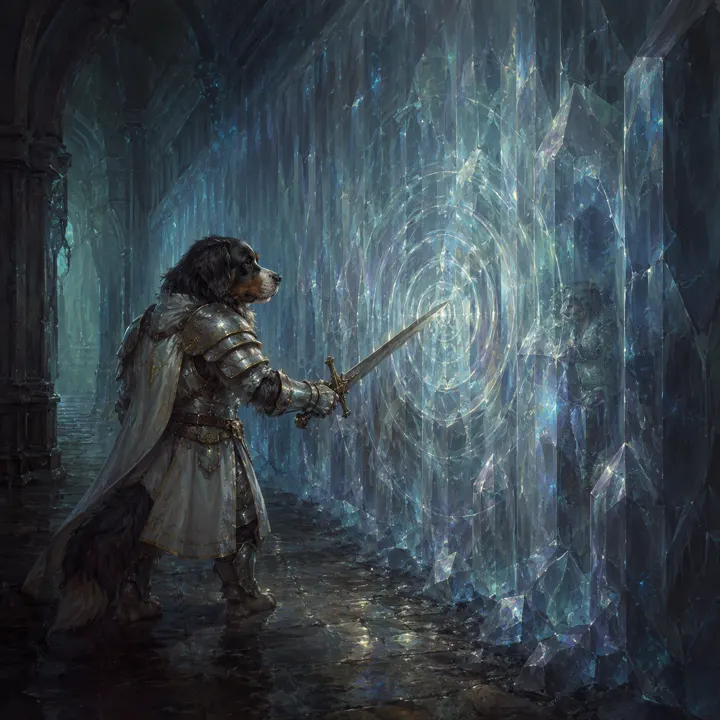
The Singing Wall, a painted scene from the game
The Singing Wall
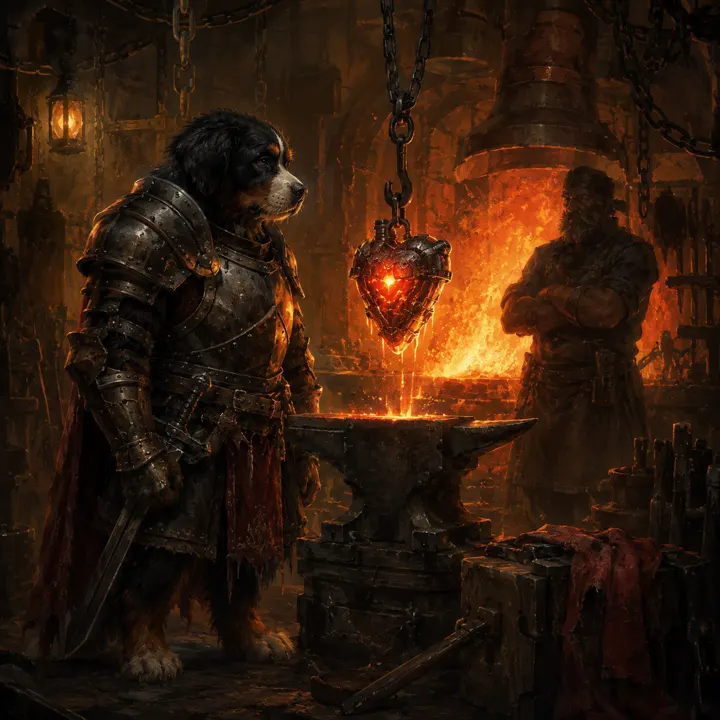
The Forge-Heart, a painted scene from the game
The Forge-Heart
The Echo Chamber, a painted scene from the game
The Echo Chamber
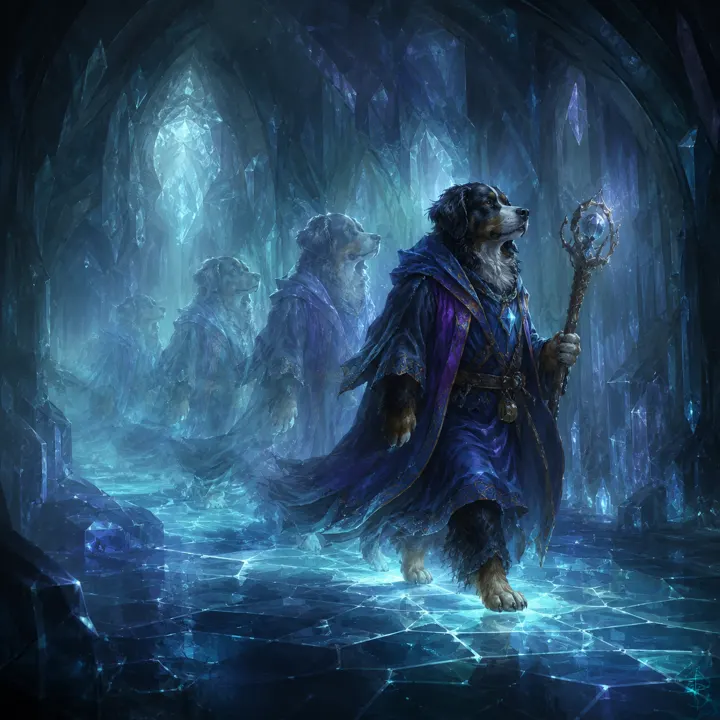
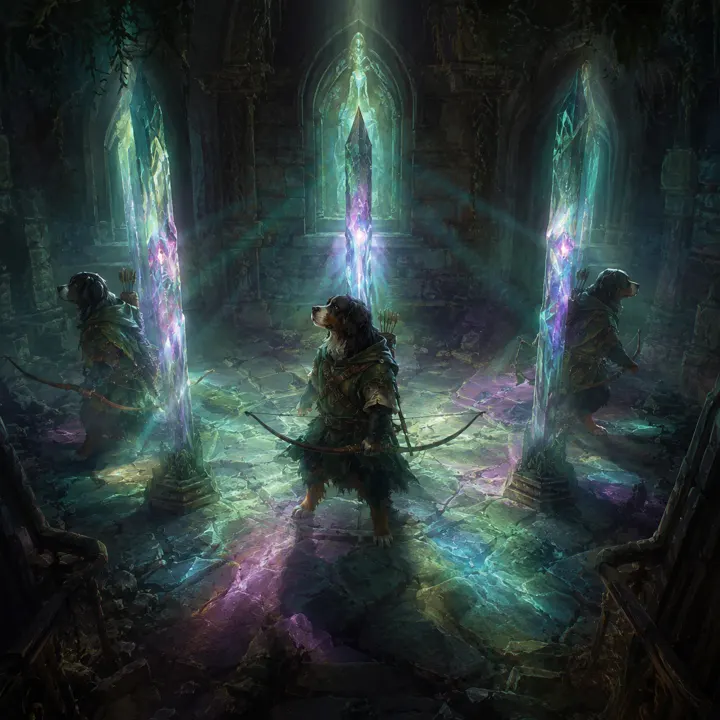
The Refracted Path, a painted scene from the game
The Refracted Path
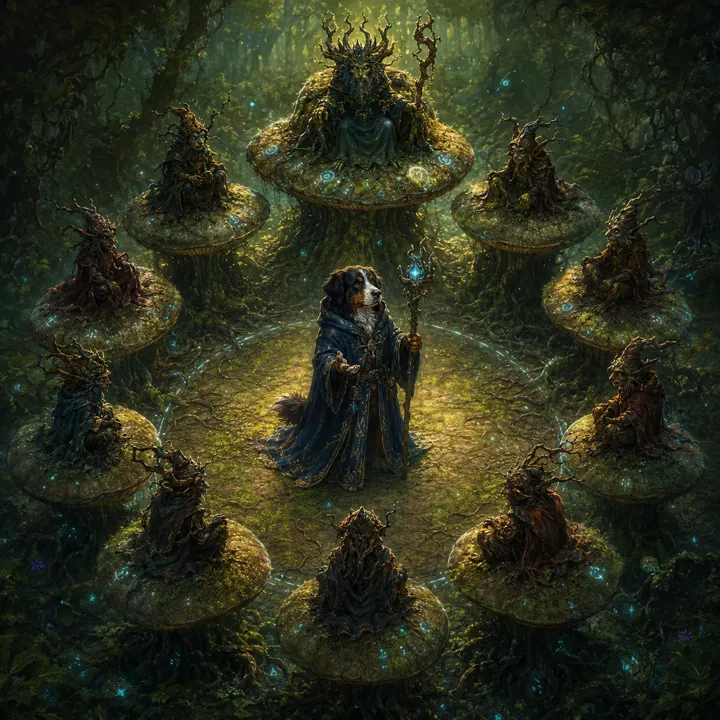
The Mushroom Court, a painted scene from the game
The Mushroom Court
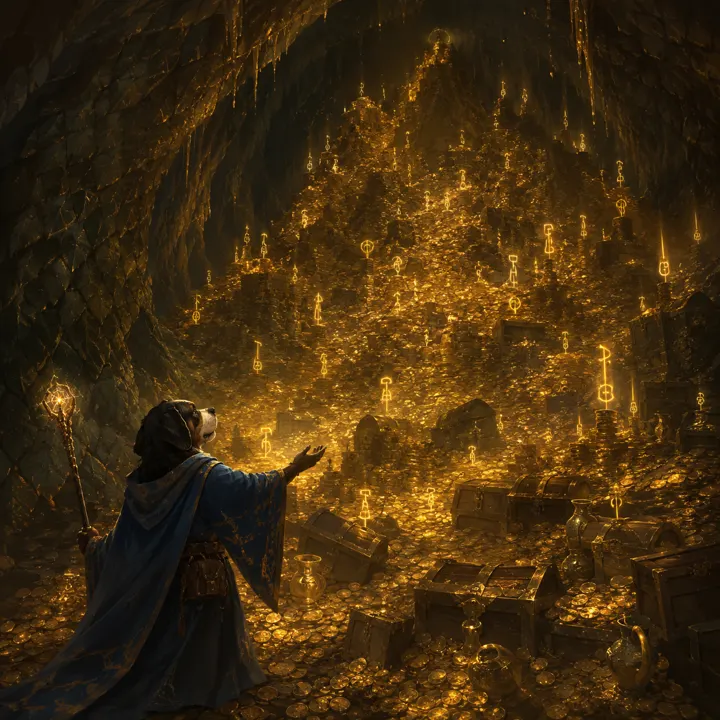
The Hoard’s Whisper, a painted scene from the game
The Hoard’s Whisper
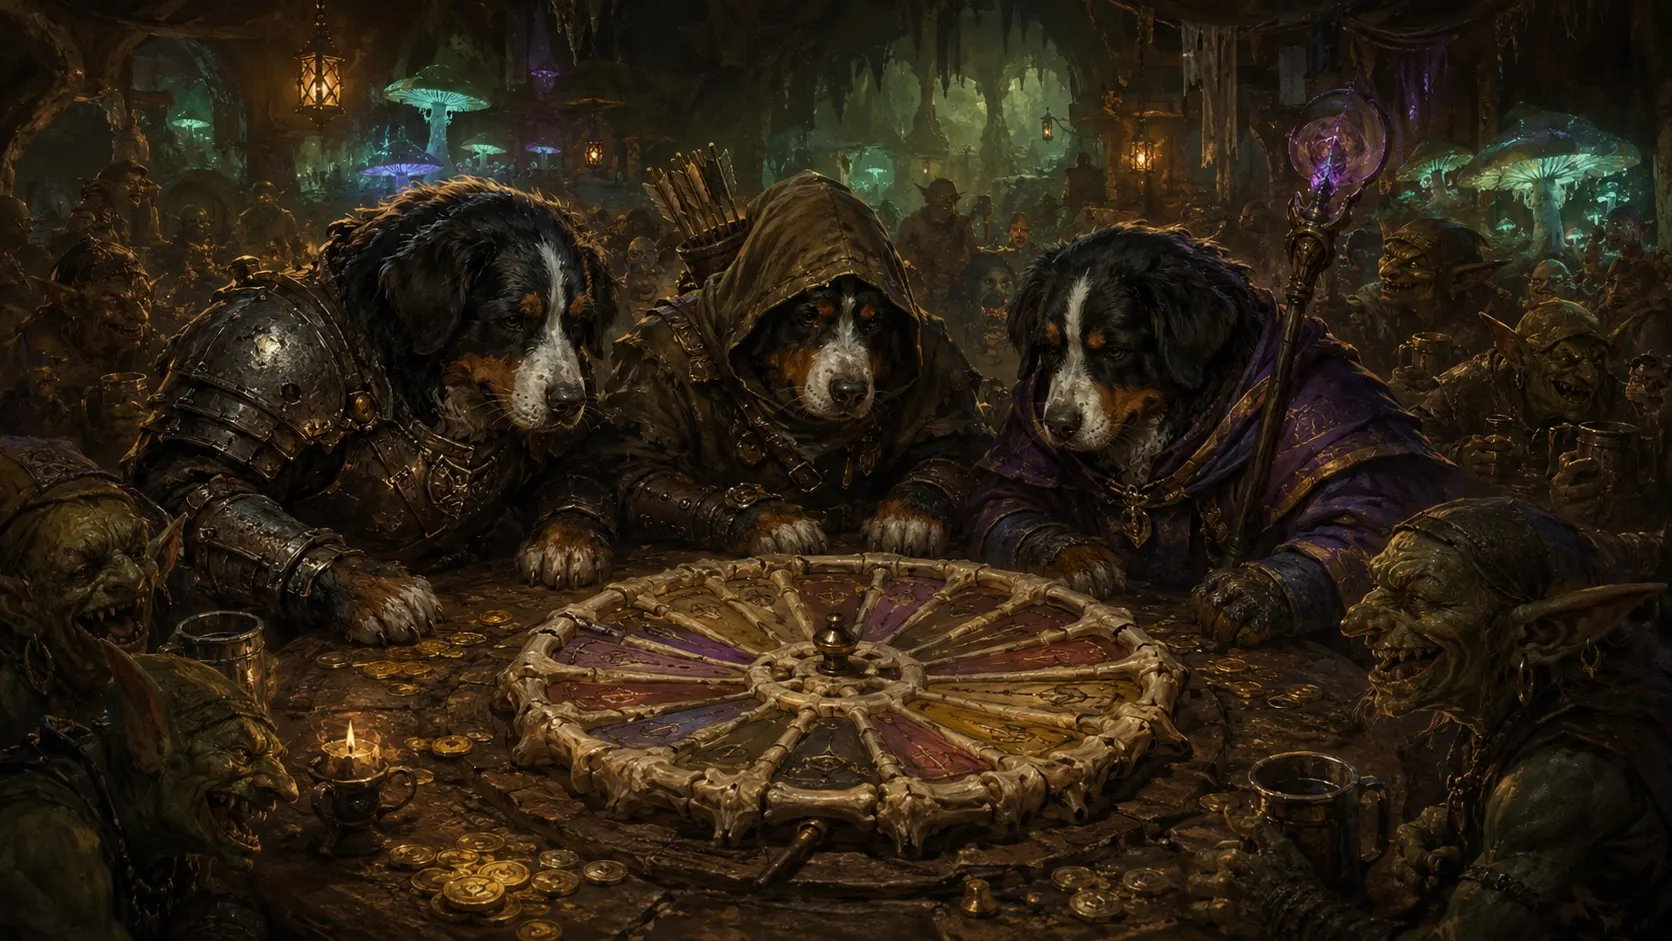
The Salt-Witch’s Bargain, a painted scene from the game
The Salt-Witch’s Bargain
Between fights

Spend it, drink it or bet it.

There is a card table down here, with an AI opponent of its own to play against. How it was built.

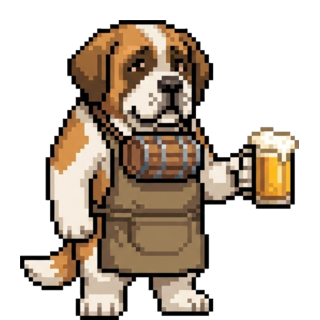
The barkeep is a St. Bernard called Barrel. He sells the drinks.

Barrel, a pixel-art St. Bernard barkeep

Barrel

Drinks poured: 0

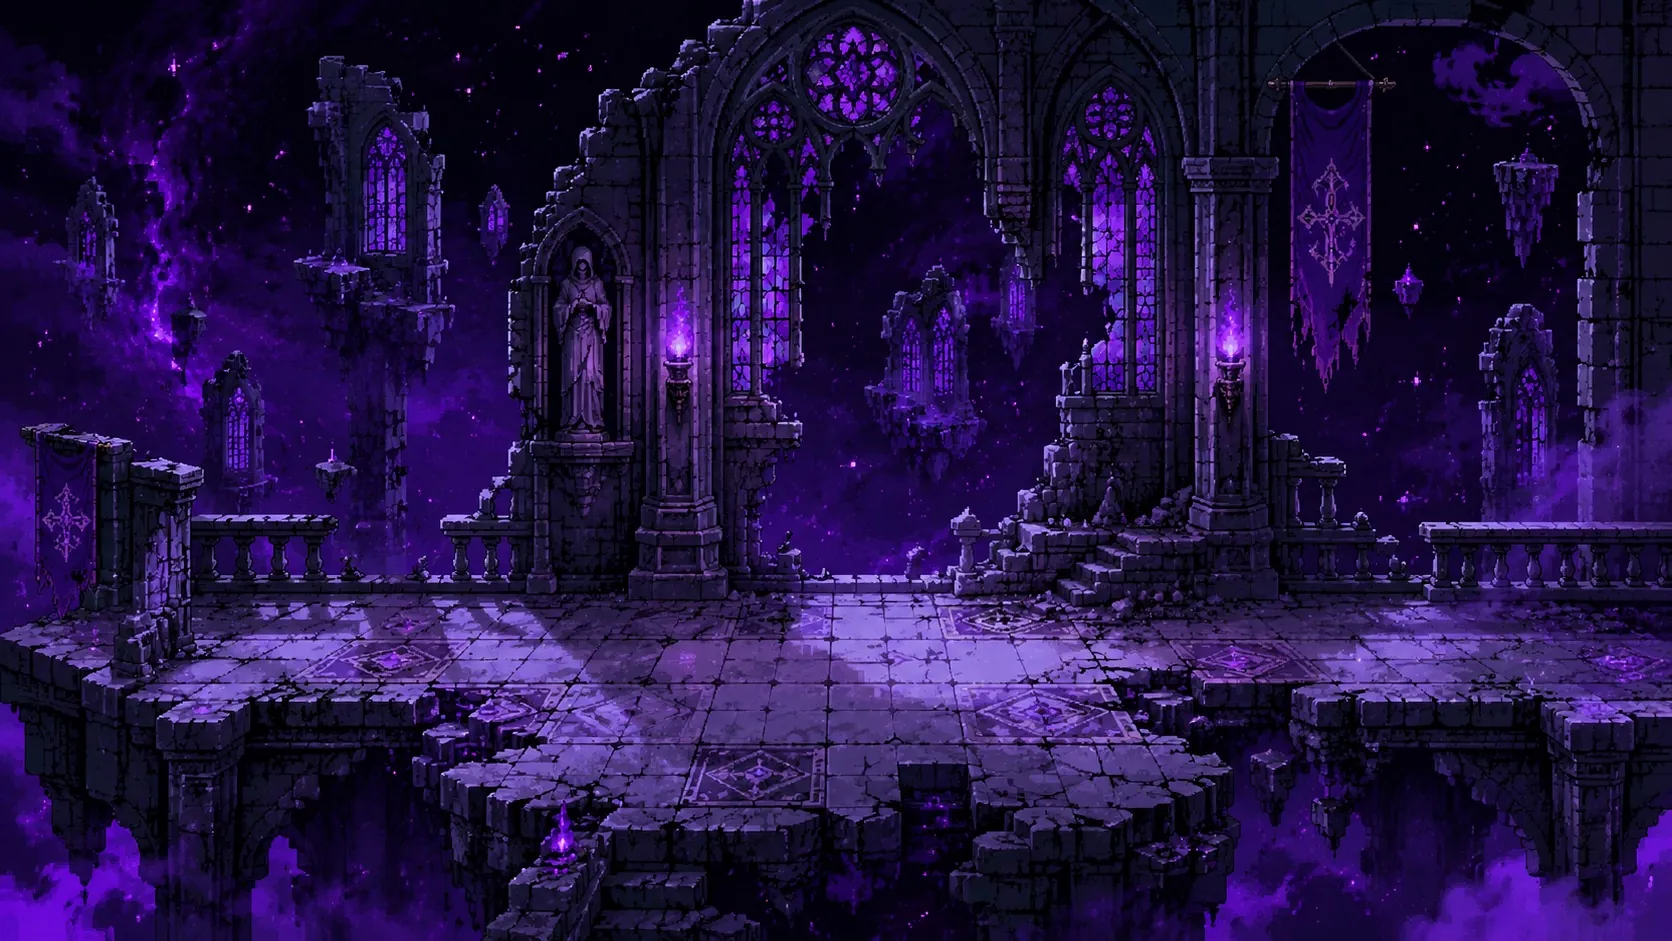
A ruined violet chapel floating in a starry void
Floor4

The ruin.

A party defeat wipes the save. This is where it usually happens.

Floor 4 boss

The Wraith

Hunger That Drinks From You

It hungers for your magic. The mage will be its first target.

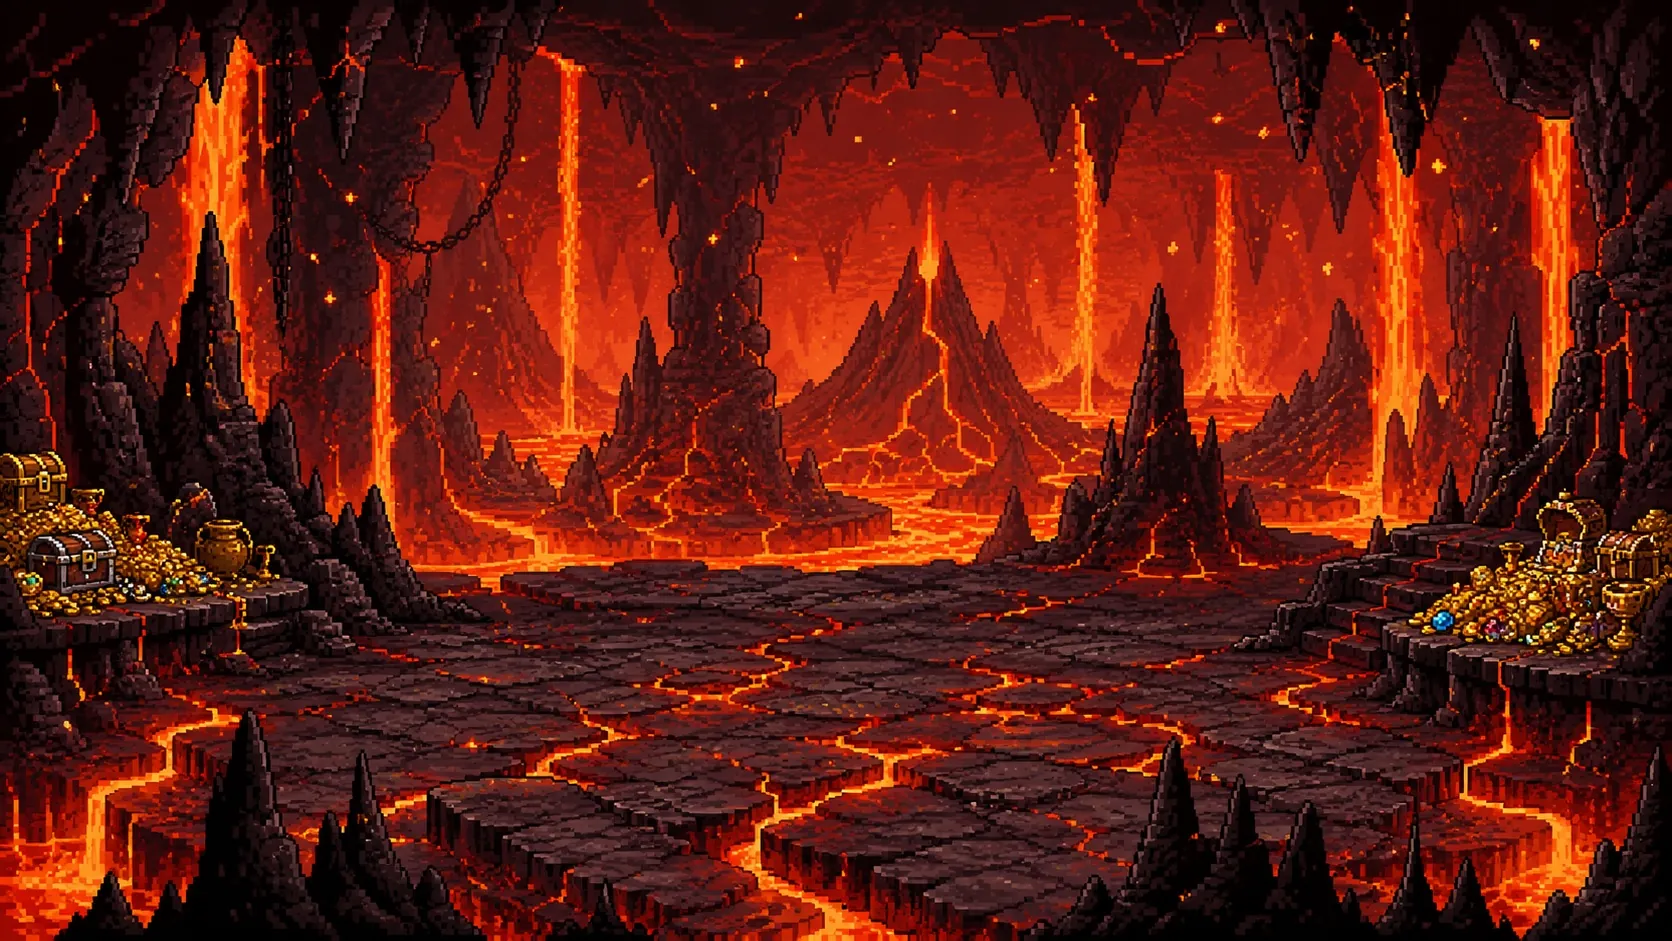
A cavern of black rock split by rivers of lava, treasure heaped at its edges
Floor5

The bottom.

One floor. One dragon.

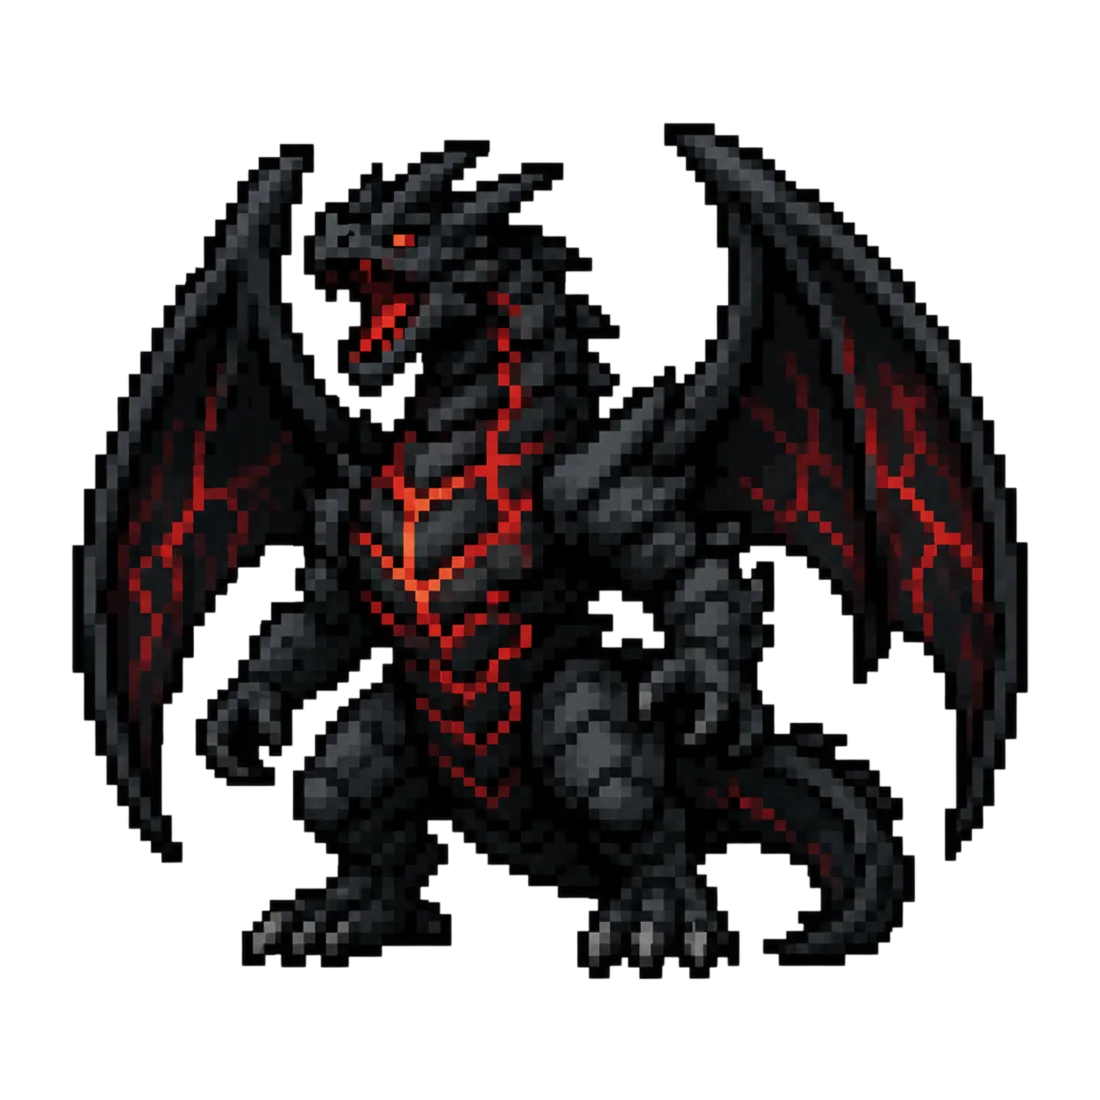
Floor 5 boss

Hollow Dragon

Final Beast of the Dungeon

Two phases. At half health it draws breath. At lower, it sweeps.

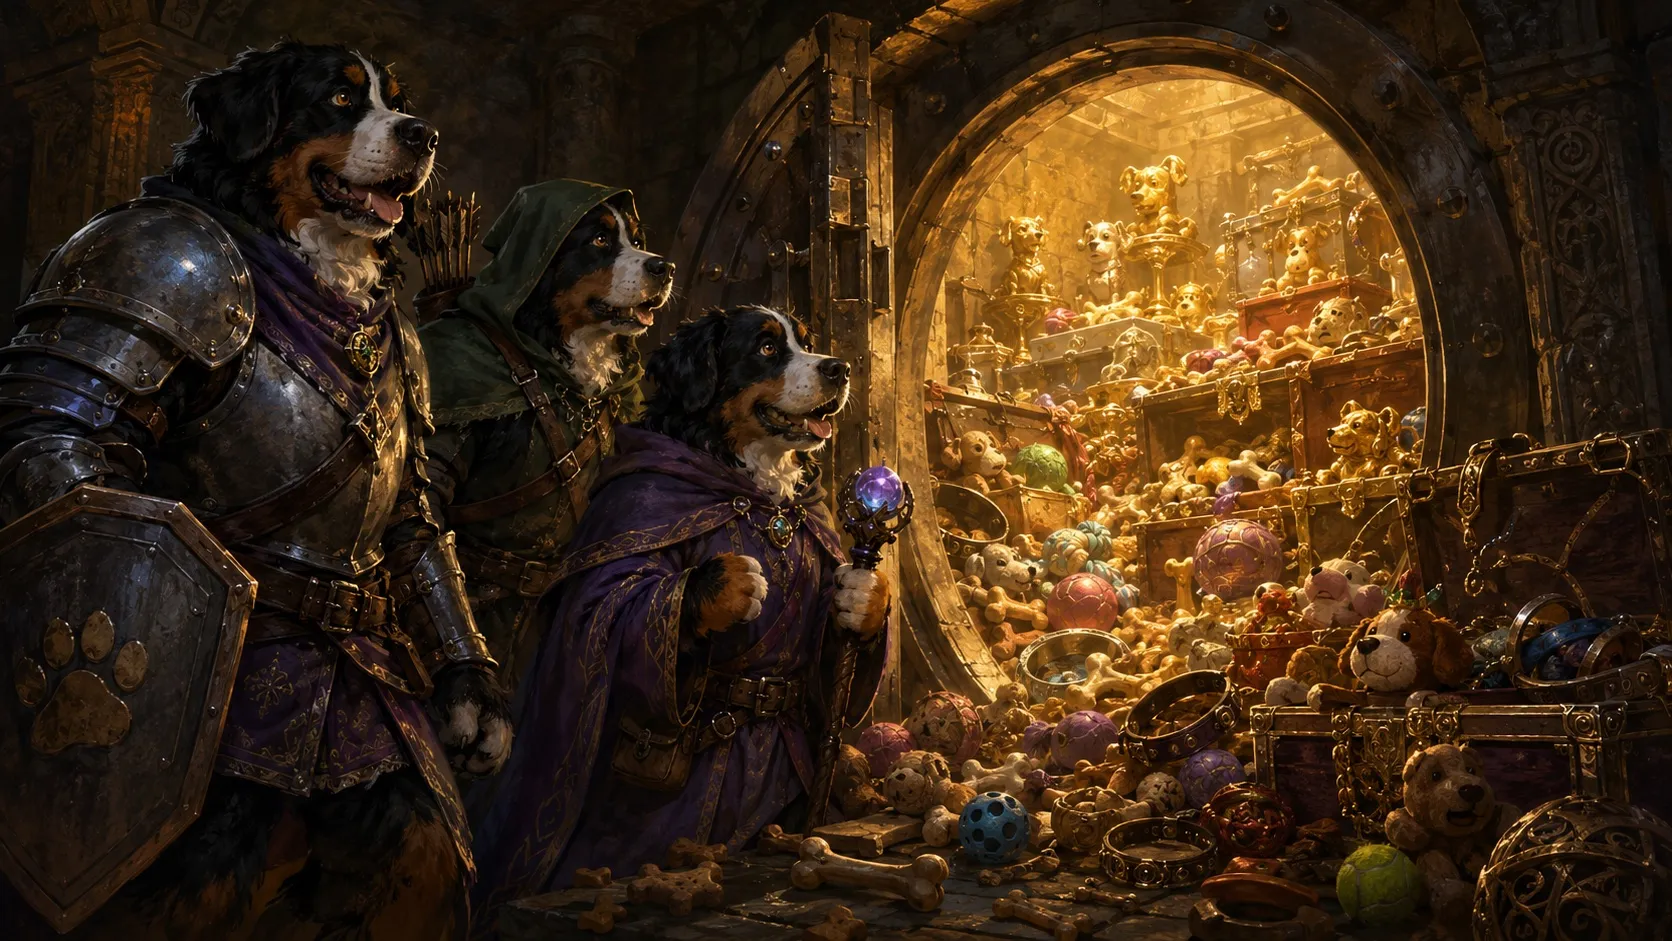
The three dogs in a cavern heaped with gold 20%

Walk out, and it is yours.

Beat the Hollow Dragon, send us your score, and we will knock 20% off your next engagement with Rough Works.

We wrote up the engineering as we went: how Berner Crawl was built, and where generated art stopped being useful.

Enter the dungeon
Play it here

Enter the dungeon.

The whole game runs in this page. Beat it, send us your score, and the 20% is yours.

Works on desktop and phone. It has music, so mind your speakers.

Open in its own tab
Reach Out

Ready for a Website That Actually Works?

Stop settling for mediocre websites. Let’s build something that works as hard as you do.

Start a Project